So, my first post will be about adding this little pesky Xerox machine to PaperCut MF as a device. I found it not very well documented in even the latest ‘Embedded’ manual that your PaperCut reseller supply.
So, without further ado, here is how I got it working…
I presume you will have the C405 already connected to the network as we can’t cover all that here, but basically when you enter the IP address into the web you should be able to see the web GUI for the machine.
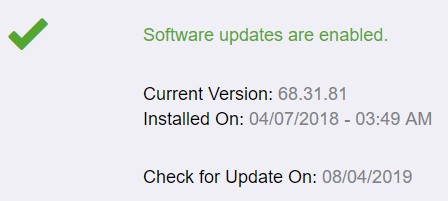
The first thing you will want to do is update the firmware. Do this by logging in as admin (top right and the default password is 1111) then head to System -> Software Update -> Check Now. If there is an update, apply it.
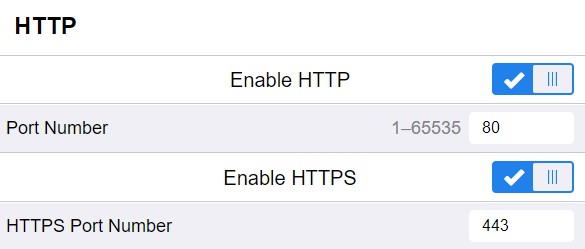
Next, we need to enable SSL over HTTP. Connectivity -> HTTP –> Enable HTTPS.
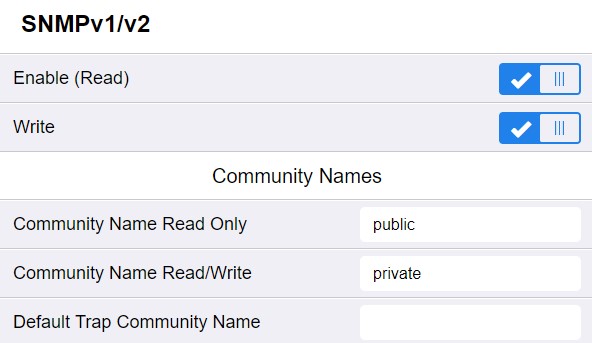
Now we need to enter the SNMP community names. Connectivity -> SNMP -> SNMP v1/v2 -> Community Name Read Only = public -> Community Name Read/Write = private
Note the community names are case sensitive
Note that some companies may require a different Read/Write name according to their setup. This also needs to be changed in PaperCut under Advanced Config (shown later on).
Now we will set the Login method which will also force us to change the admin password. I’ve found if you manually change the admin password before this step, it still makes you change it and PaperCut doesn’t like it. Click ‘Permissions’ and then ‘Login/Logout Settings’
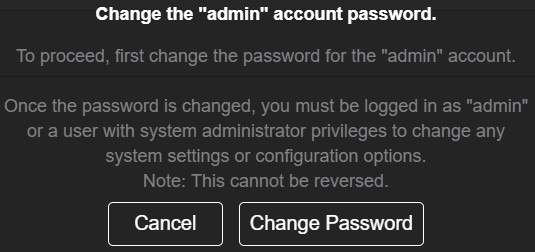
The machine should ask you to change the admin password. Click ‘Change Password’.
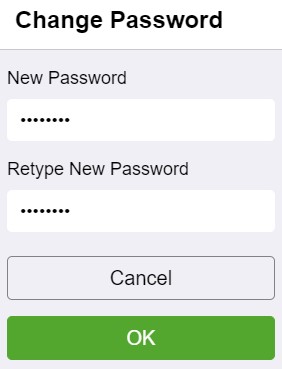
Type a new password and again to confirm.
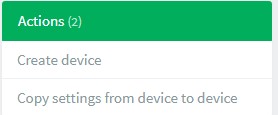
Now move over to your PaperCut MF admin web GUI. Login as the administrator, which will give you a ‘Devices’ option in the left-hand menu. Click Devices -> Create Device

Drop down the ‘Type’ box and choose Xerox (Secure Access EIP 1.5+)

Fill in the information as below. Obviously, your C405 IP address will be different and you need to enter the password you changed earlier for the admin user.
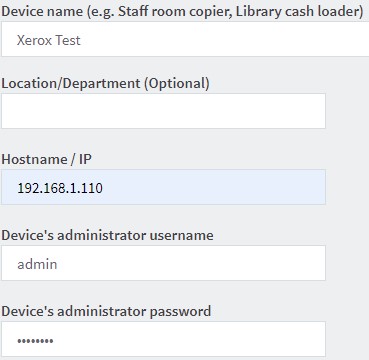
Click ‘OK’ to start setting up the device.
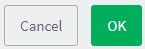
Scroll down the page until you see the black box next to ‘Device Status’. This will show you the steps that PaperCut takes to try and setup the C405. You may see an error message like the ones here:
Error: Unable to configure Xerox Secure Access using SNMP. Failed to set 1.3.6.1.4.1.253.8.74.6.2.1.9.6.101.136.1. Possibly the device needs its admin password changed from the default and then rebooted.

Error: Xerox HTTP error calling: http://192.168.1.110/acct/get_config – Response: 404 (Not found).
Please verify that Xerox Network Accounting is installed and enabled. On some models, the MFP may need rebooting for Network Accounting to take effect.
This normally means the C405 just needs rebooting. You can complete this through the web GUI by clicking ‘Home’ and then ‘Support’ and finally ‘Restart’ and confirming. You do need to be logged in as the admin user to be able to restart the machine.


If you keep an eye on the ‘Device Status’ screen in PaperCut MF, you should find that after a couple of minutes the status shows:

If you get the following error message:
Started (with errors) – Error occurred, retrying to connect.
Error: Unable to retrieve SNMPv2c configuration info from Xerox device: 192.168.1.110. Please check SNMPv2c is enabled and the SET Community Name matches between the Xerox and ext-device.xerox.snmpv2.set-community-name.
Then you may need to check that the SNMP Community name you have been given by the IT department matches in both PaperCut MF and the Xerox C405. You can check the community name in PaperCut by clicking the ‘Advanced Config’ tab in the PaperCut Device screen.

Then enter xerox.snmp into the search box and press Enter. This will show the following config line:
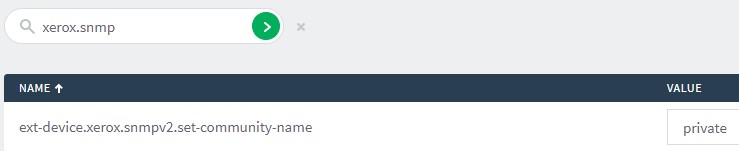
All you need to do here is change the value to match the SNMP Community name that the IT department have set and click ‘Update’ to save the setting.
You can now enable ‘Print Release’ and start using PaperCut MF with your Xerox Versalink C405!
Thanks for reading this and hope it has helped somebody. If you have any comments or suggestions, please feel free as they are always welcome.
5 Responses
hi this is amazing yay
What do you need to change the Login/Logout Settings section on the VersaLink to?
Hi Robert – You don’t need to change anything – it just forces you to change the admin password when you click on it for the first time.
Hey, thanks for the article! Do you know if you can add a card reader to this printer for use with Papercut? We have that on our larger printers already but need a smaller (cheaper) extra printer with this functionality.
Cheers
Dave
Hi Dave (top name) – Yes you can. I use the TWN4 MultiTech USB card reader. It sits under the blue panel next to the screen and I think there is some drivers for it. Let me know if you need further information.